
How to start carving a ham shoulder-Paleta?
1 commentKnowing how to start carving an Iberian shoulder ham is a crucial factor, as cutting the meat to the required thickness—thin enough to melt in your mouth yet thick enough to appreciate its nuances—is essential to fully enjoy this premium product.
At Enrique Tomás, we care for each piece and treat them all equally throughout the process to give them a unique flavor. However, to truly savor that authentic taste, you need to slice the meat properly and know how to taste it correctly.
If you're not sure where to begin carving a shoulder ham, you can purchase pre-sliced products. On the other hand, if you want to carve the meat yourself, here's what you need to consider:
How to Start Carving an Iberian Shoulder Ham
In bars, restaurants, and specialized stores, Iberian shoulder hams are quickly finished and placed on a ham holder with the hoof facing upwards to first cut the meat from the "maza," which is the tenderest part. However, at home, you don't have to follow the same trend. As we explained in "How to Open a Ham", the "babilla" (opposite side of the hoof) is more cured than the "maza." So, if you're a small household or you'll take time to consume the shoulder ham, it's advisable to start here.
Tools You Need to Start Carving an Iberian Shoulder Ham
Take note of the tools you need for the perfect carve:
- Knife: Not just any knife will do for carving a shoulder ham—you'll need a long, flexible ham knife.
- Deboning knife: An essential tool, sturdy and wide.
- Boning knife: Shorter than the previous one but indispensable when you can no longer slice the ham into thin pieces.
- Sharpening steel or honing rod.
- Shoulder ham holder.
- Tweezers: If you have access to them, they'll be perfect. However, if not, they are not indispensable.
So, once you have all the necessary tools, you just need to place the shoulder on the ham holder, and at Enrique Tomás, we'll explain how to do it. To leave no doubts, we provide this video on how to start carving a shoulder ham and how to cut it.
Parts of the Iberian Shoulder Ham
Once you have all the utensils to start carving a pork shoulder, the first thing you need to know is that shoulders have three parts. This will help you determine where to begin carving:
- Maza: The juiciest part
- Contramaza: A more cured area
- Codillo or Jarrete: Where the meat is more fibrous and has sweeter nuances.
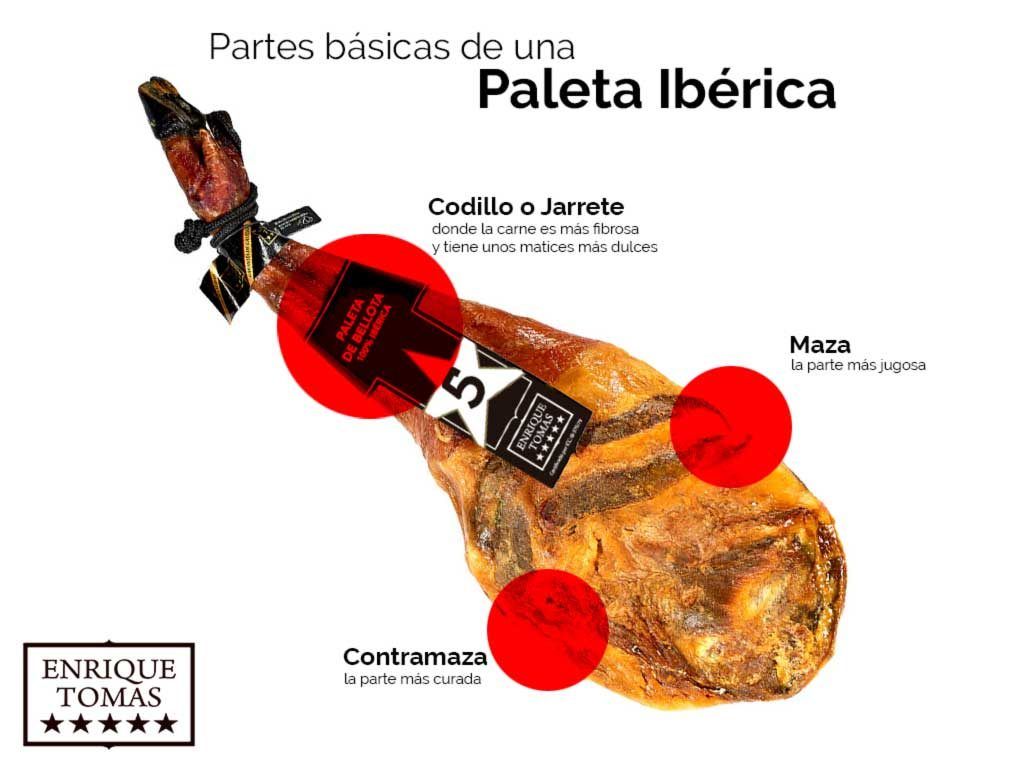
So, how to start carving an Iberian shoulder ham? It depends on how you plan to use it. If you're sharing the shoulder with friends or family, it's advisable to place it hoof side up, just as it's done in the hospitality industry. As you'll finish the piece quickly, you can serve the juiciest meat from the "maza" first and then proceed to the rest.
Conversely, if you're enjoying the shoulder at home with a few members, it's better to place it upside down, with the hoof facing downward. This way, you'll serve the more cured meat first, and the "maza" meat will remain perfectly tender when you're ready to indulge.
However, what we've explained is just a recommendation. If you prefer to enjoy the "maza" meat even if you're a small household, go ahead.
As mentioned earlier, if you'd rather not carve, you can also opt for our vacuum-sealed packs. Properly stored vacuum-sealed products can last up to 90 days. So, if you keep them in a dry, dark place at a temperature between 17 and 23°C (62.6-73.4°F)—in any pantry—they will be perfect when you're ready to enjoy them.
Don't hesitate and savor your whole or pre-sliced shoulder as soon as possible!
How to Carve a Shoulder Ham at Home
Now you know how to start carving an Iberian shoulder ham, but how do you carve it? Every step counts to savor its full flavor and aroma. Proper carving is much more important than it might seem—only by doing it correctly can you truly enjoy all the flavors and aromas of the meat.
Tips for Carving a Shoulder Ham
- Tips 1
Before you start carving an Iberian shoulder ham, know that the rind helps preserve the meat, so you shouldn't remove more than necessary. However, once you've sliced it, you need to discard the rind because it must not be used to cover the ham meat. The fat becomes rancid, and if it comes into contact with your piece, it will transfer its taste, diminishing the nuances of your aged ham. - Tips 2
You must pay attention to the thickness of the slices, which shouldn't be too thin or too thick. What's the trick? Remember that the sweet spot is in the middle. The knife should glide under the slice. By following this tip, you'll experience the Iberian oil cascading in your mouth, melting upon contact with your palate's warmth, while the flavors penetrate your taste buds. Keep in mind that the correct cutting direction is toward you, but be careful not to cut yourself. - Tips 3
Gradually, as you finish your shoulder ham, it's essential to use the boning knife, the smallest one, to cut the meat around the bone, thus separating it. The slices you cut will come off easily. When the bones prevent you from obtaining more ham slices, it's time to turn the shoulder over and cut from the other side.
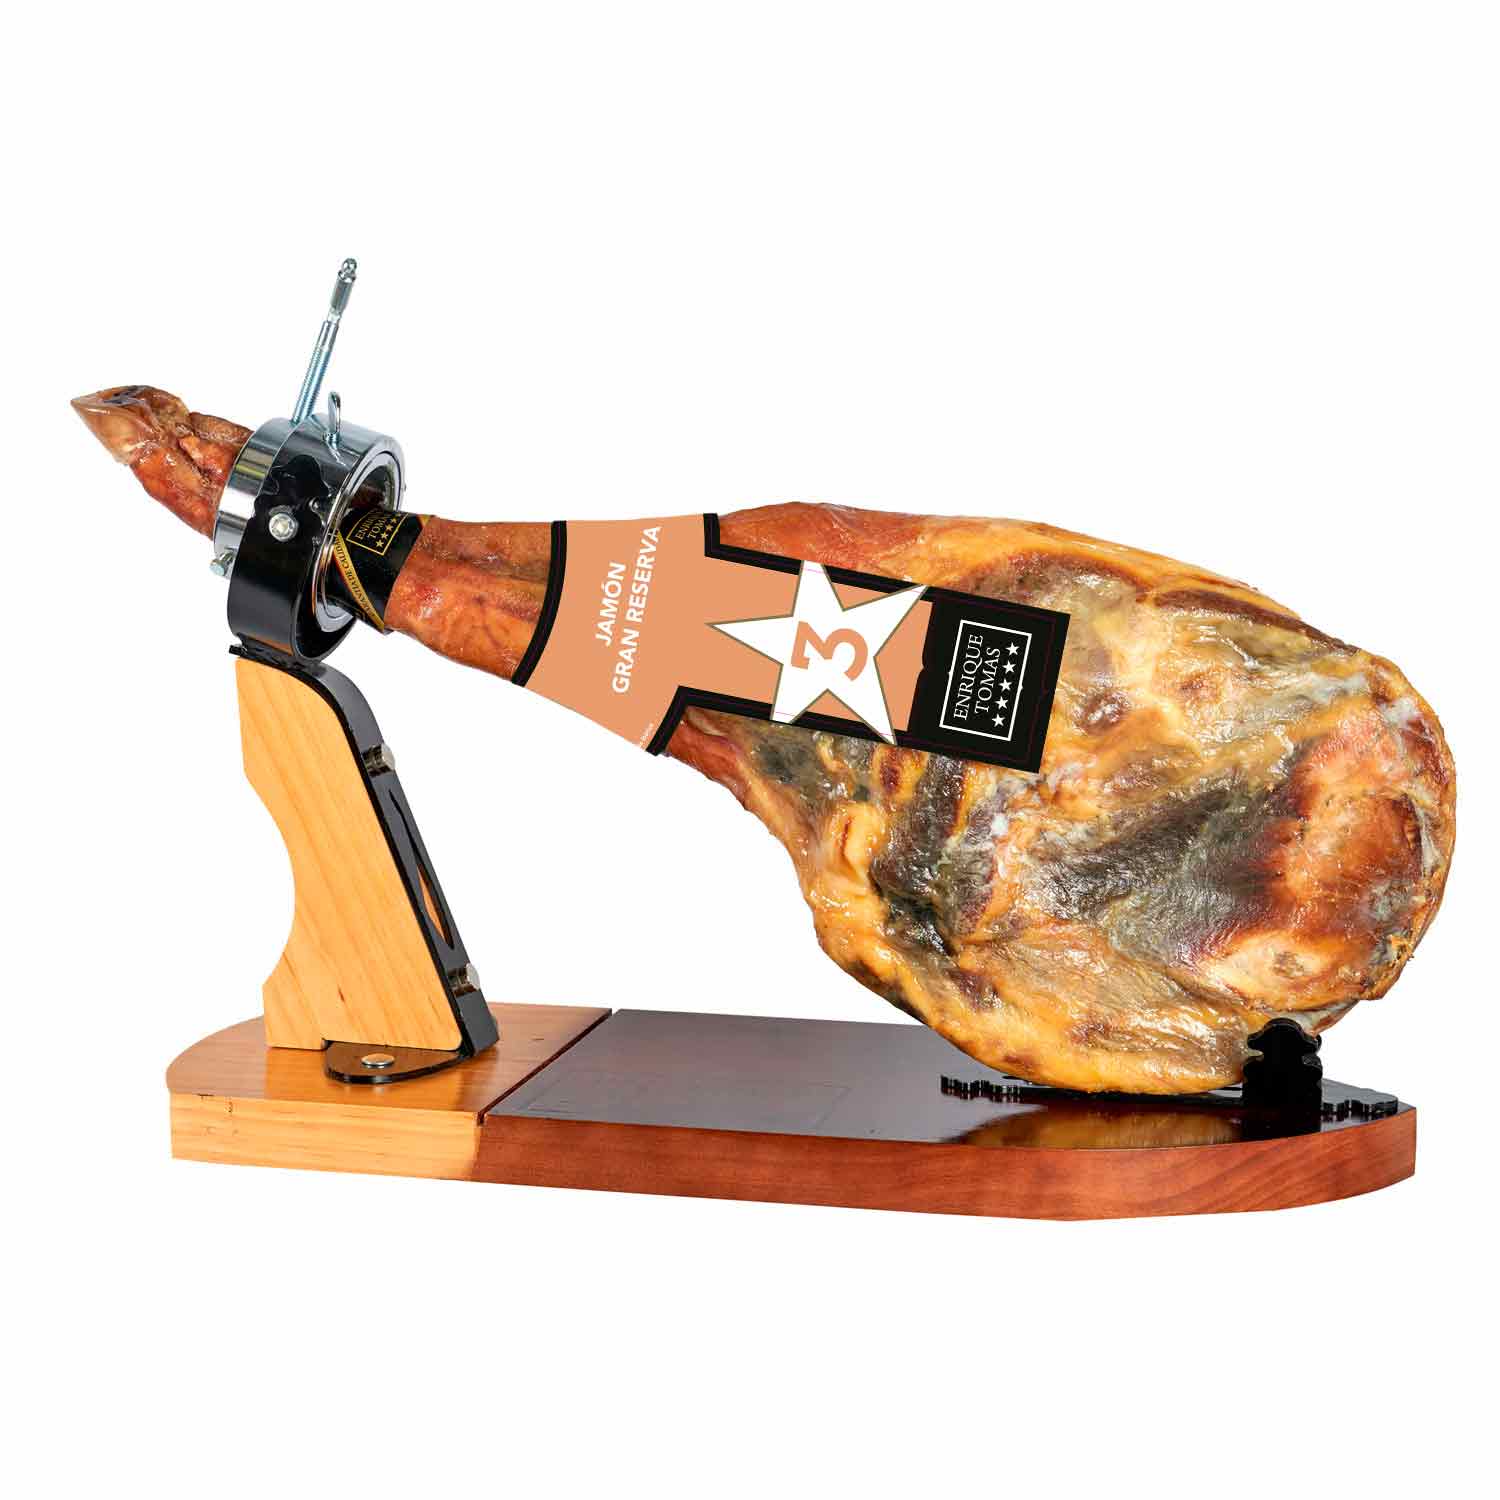
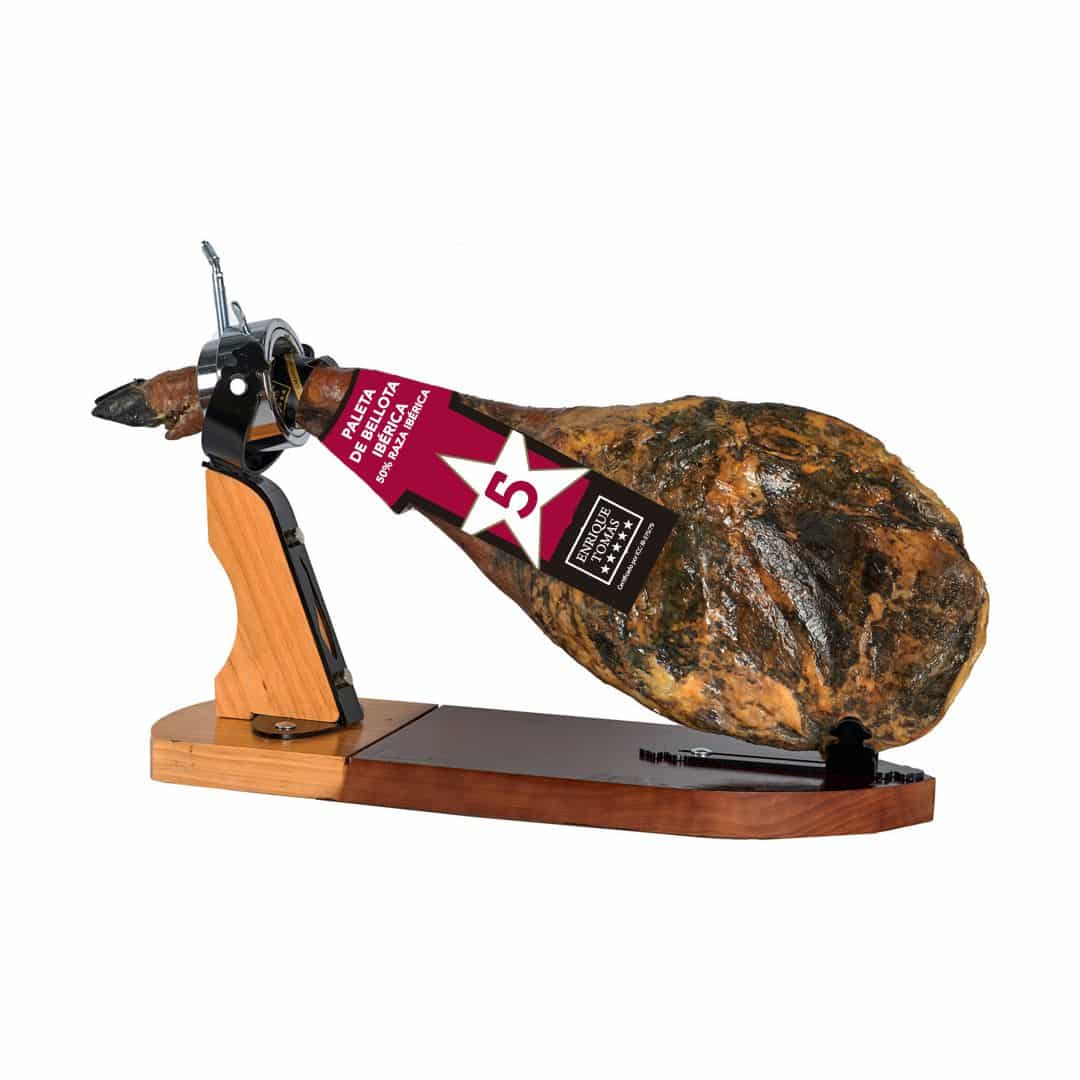
Discover Different Types of Iberian Shoulder Ham by Enrique Tomás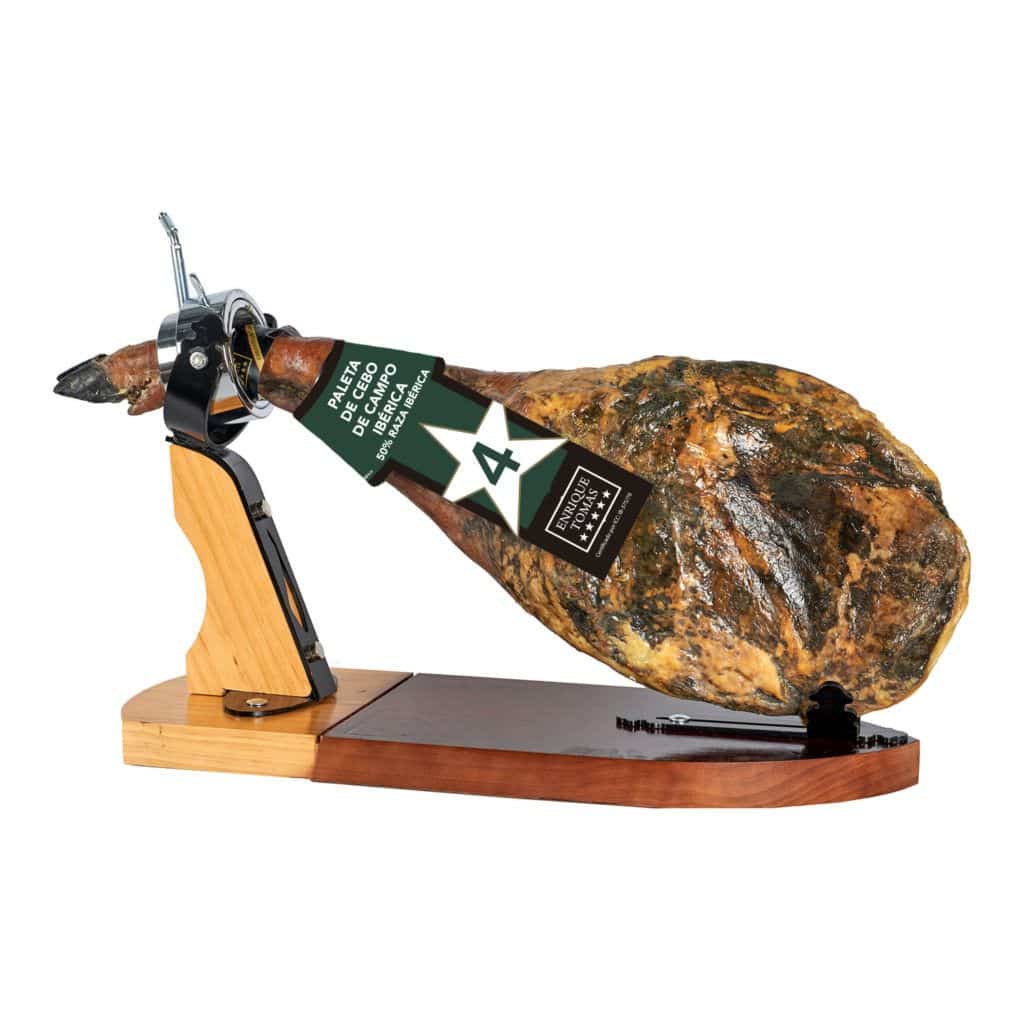
Steps to Carve a Pork Shoulder
- Place the shoulder according to the instructions we've provided—hoof side up and contramaza side down, or vice versa. In this step-by-step guide, we'll place the hoof side up, so we'll start by carving the "maza."
- Remove the rind and yellow fat. Remember to remove only the part you'll eat to maintain the shoulder in perfect aging condition.
- Carve the "jarrete" or codillo, which is the upper part of the pig's front leg.
- Continue with the "maza" and "contramaza." Make thin, straight cuts from the hoof to the tip.
- Once you've utilized all the meat from this side, flip the shoulder over and remove the rind.
- All that's left is to slice the "babilla" and fully enjoy the flavor of your Iberian pork shoulder.
If you want to maximize the product, you can bring the shoulder ham to one of Enrique Tomás' stores to have the boneless or semi-boneless shoulder machine-carved.
How to Start a Ham?
And what about a ham? How do you start carving a ham? Is it the same as carving an Iberian shoulder? When starting either from the "maza" or the "babilla," the reasoning is exactly the same. If you're going to consume the ham quickly, it's better to begin carving from the "maza." Conversely, if you plan to enjoy the ham leisurely at home, placing the hoof side down is preferable.
Now that you know where to start carving a ham, the next question arises: how do you carve it correctly? The technique for carving a ham is similar but not identical. As you know, Iberian ham and shoulder are different parts of the pig and therefore require different procedures for opening and carving.
If you want to learn how to open a ham at home, Enrique Tomás has provided an extensive step-by-step guide to help you learn to carve it easily. Additionally, we've included this video to ensure you don't miss any details.
What Do I Do If I Don't Carve the Pork Shoulder Properly?
Despite its seemingly straightforward nature, we understand that it's challenging to achieve. Only true master ham carvers can fully extract the potential from each piece. If you notice there's still some meat left on your shoulder, but you can't continue carving, bring it to any of our Enrique Tomás stores.
Our best specialists will complete the carving process, whether you purchased your shoulder from one of our stores or not. Once we've finished, we'll package the sliced ham in vacuum-sealed packs that you can store for up to three months. When you're ready to enjoy a genuine Iberian acorn-fed or cebo shoulder, open one of your packs, allow the meat to breathe for a bit, and then savor its full flavor!
Now that you have all the information at hand, are you ready to start carving a pork shoulder at home? We hope the answer is yes. Here's to a recommendation with the best ham in the world and shoulder!





1 comment
La mejor explicación q he visto, de por donde empezar a cortar… gracias